Skip to content
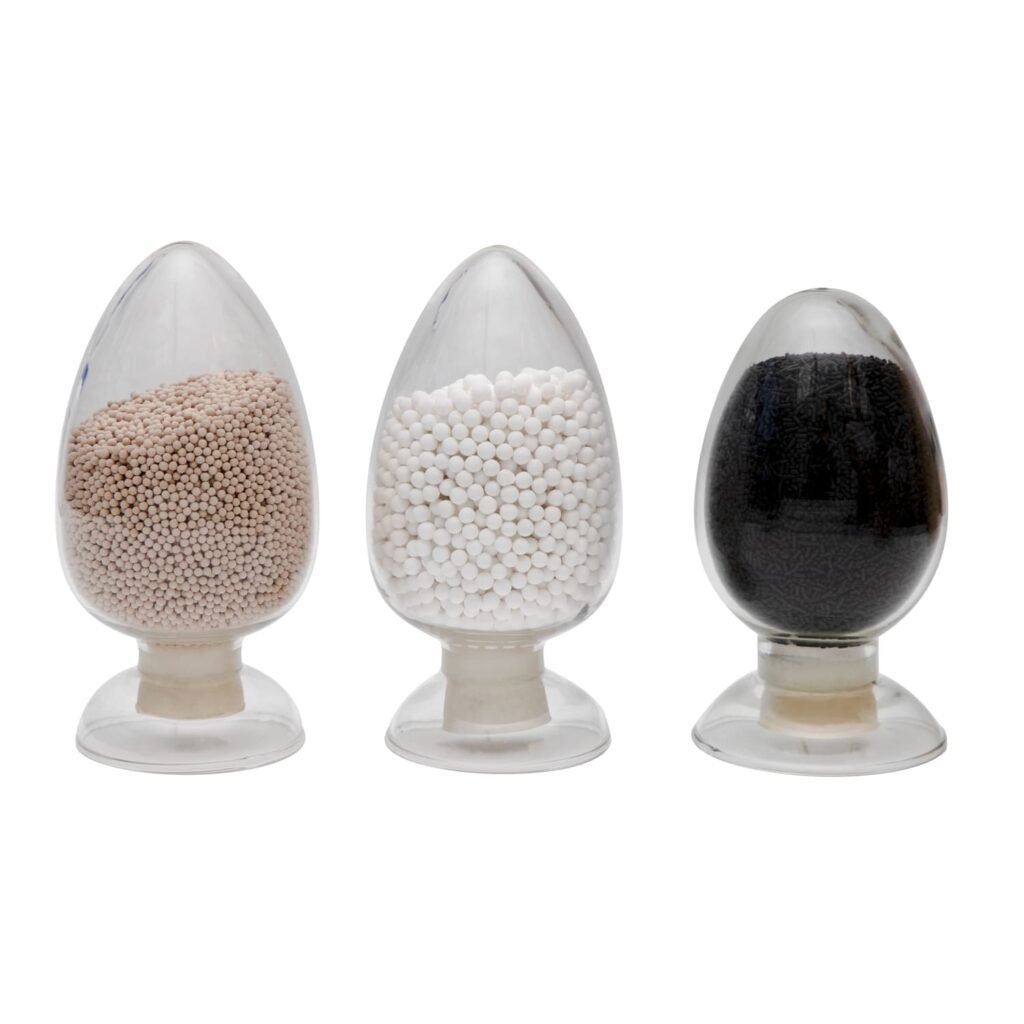
Your air compressor is dusting, causing system failures. This contamination damages equipment and halts production. A proper molecular sieve replacement is the key to restoring performance and peace of mind.
The best way to load molecular sieves is to first ensure complete system shutdown and cleaning. Then, add a support layer of activated alumina, pour the sieves in slowly and evenly, and use a vibration tool to pack the bed tightly. Finally, verify the fill height before closing.
Now that you have the quick answer, let's get into the details. I've seen many plants struggle with this process, and a small mistake during loading can lead to big problems down the line. Following these steps carefully will ensure a long and efficient life for your new sieves and protect your entire air system. Let's break down the process so you can get it right every time.
What Are the Critical Preparation Steps Before Loading New Sieves?
Rushing the prep work seems faster. But residual contaminants will poison your new, expensive sieves. Proper preparation is non-negotiable for long-term performance and protecting your investment.
Before loading, ensure the unit is fully shut down and depressurized. Then, thoroughly clean the inside of the adsorption tower to remove all oil, water, and debris. This prevents poisoning the new molecular sieve and ensures optimal performance from day one.
Getting the preparation right is more than half the battle. If you load brand-new, high-performance molecular sieves into a dirty tower, you are basically throwing money away. The sieves will get "poisoned" by leftover oil and water, and their ability to adsorb moisture will drop fast. I once visited a customer whose new sieves failed in just a few months. The reason? They skipped the cleaning step to save a few hours. That was a costly mistake. Don't let that happen to you.
Safety First: The Non-Negotiable Checklist
Before you even think about opening the tower, safety has to be your number one priority. These are large, pressurized systems.
| Step | Reason for this Step |
|---|---|
| Full Shutdown | Ensures no moving parts or electrical hazards. |
| System Depressurization | Prevents dangerous release of high-pressure air. |
| Lockout/Tagout | Prevents anyone from accidentally starting the machine. |
| Ventilate Area | Ensures a safe breathing environment inside the tower. |
Why a Clean Tower is a Happy Tower
After safety is secured, you must clean the tower interior. Any residue left inside will immediately reduce the new sieve's lifespan and efficiency. Thoroughly remove all old sieve material, dust, oil residue, and water stains. A clean, dry, and empty vessel is the perfect starting point.
What Is the Best Technique for Actually Filling the Adsorption Tower?
Just dumping the sieves in seems easy. But this leads to channeling, crushing, and early failure. The right technique makes all the difference for efficiency and the longevity of the adsorbent.
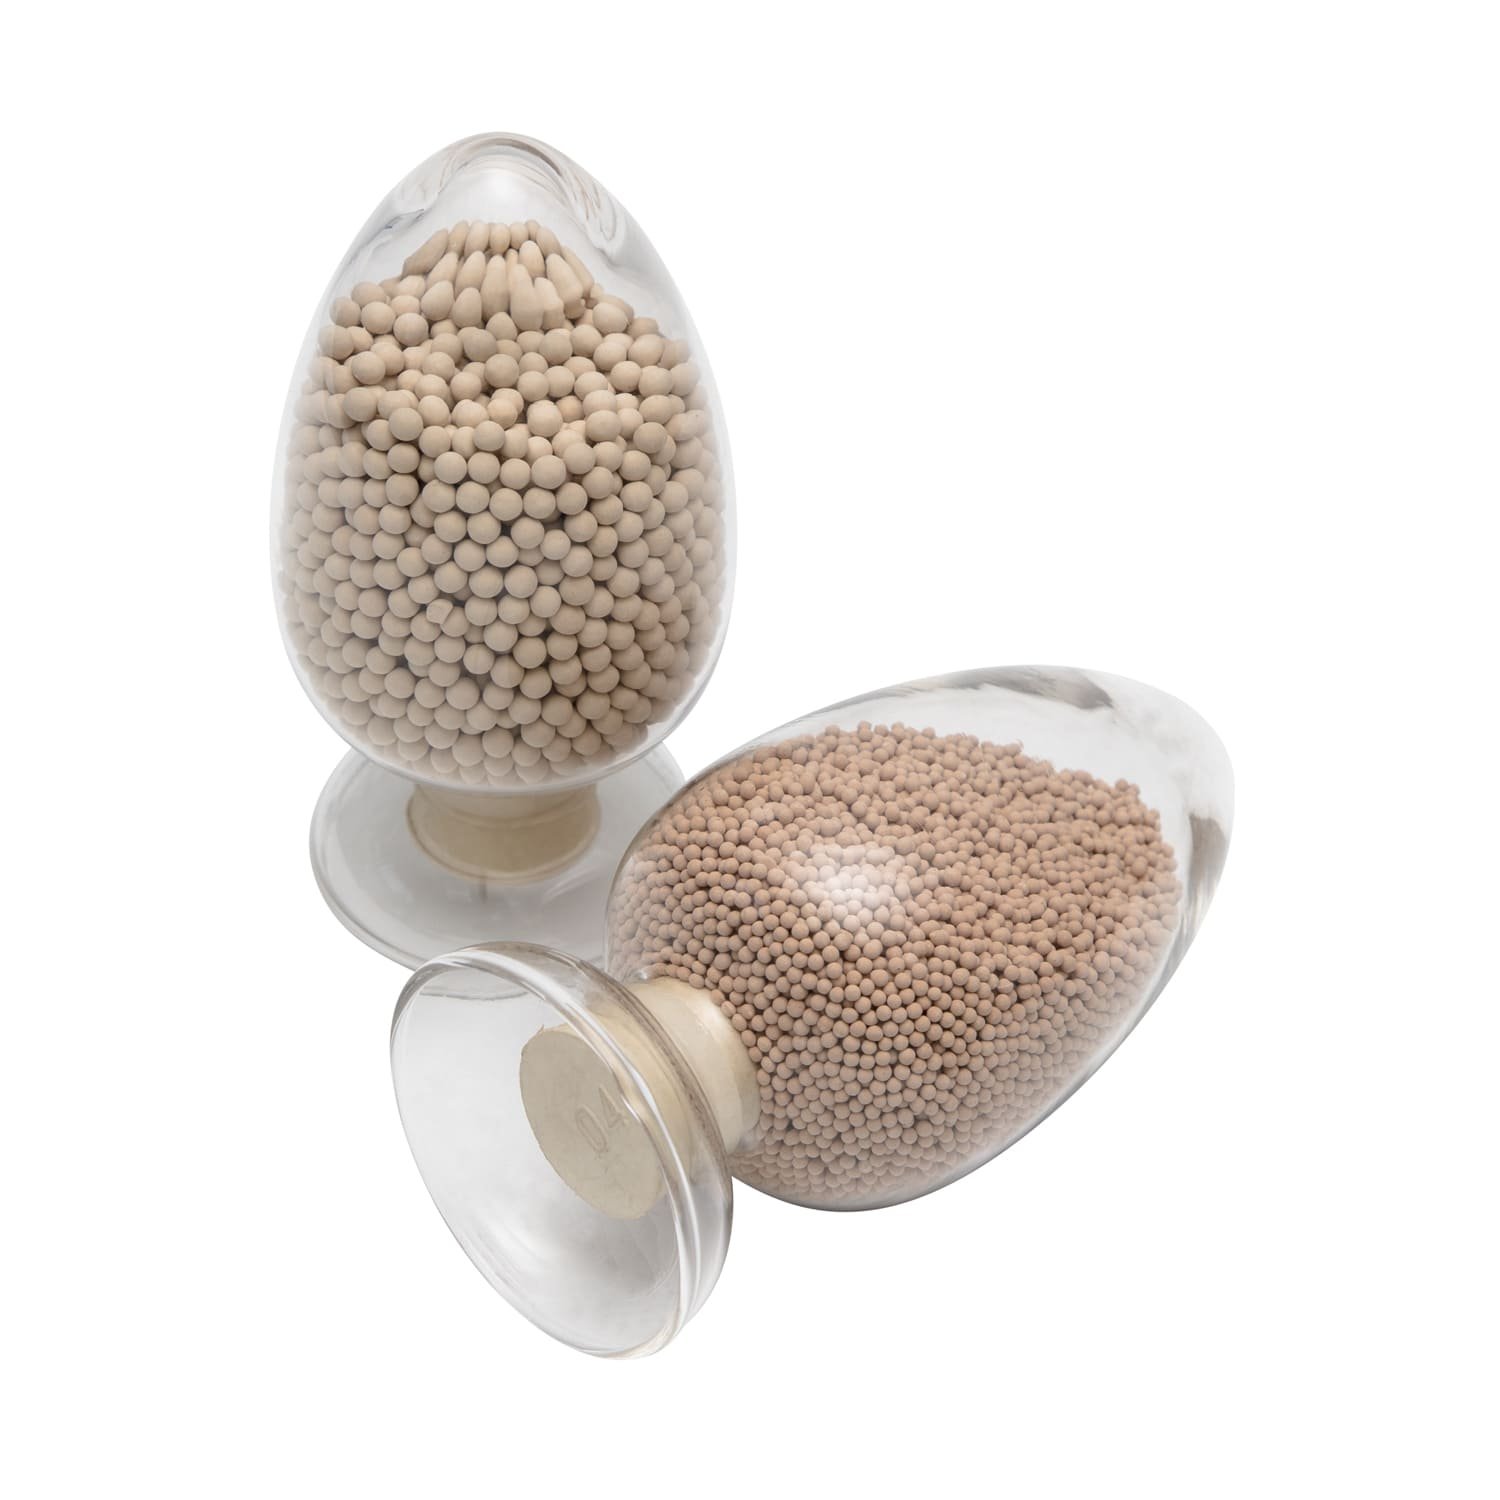
Start by laying a support screen and a bed of activated alumina. Then, pour the molecular sieves in slowly and evenly. Use a vibrating tool during the process to ensure the bed is packed tightly, which minimizes future powdering and channeling.
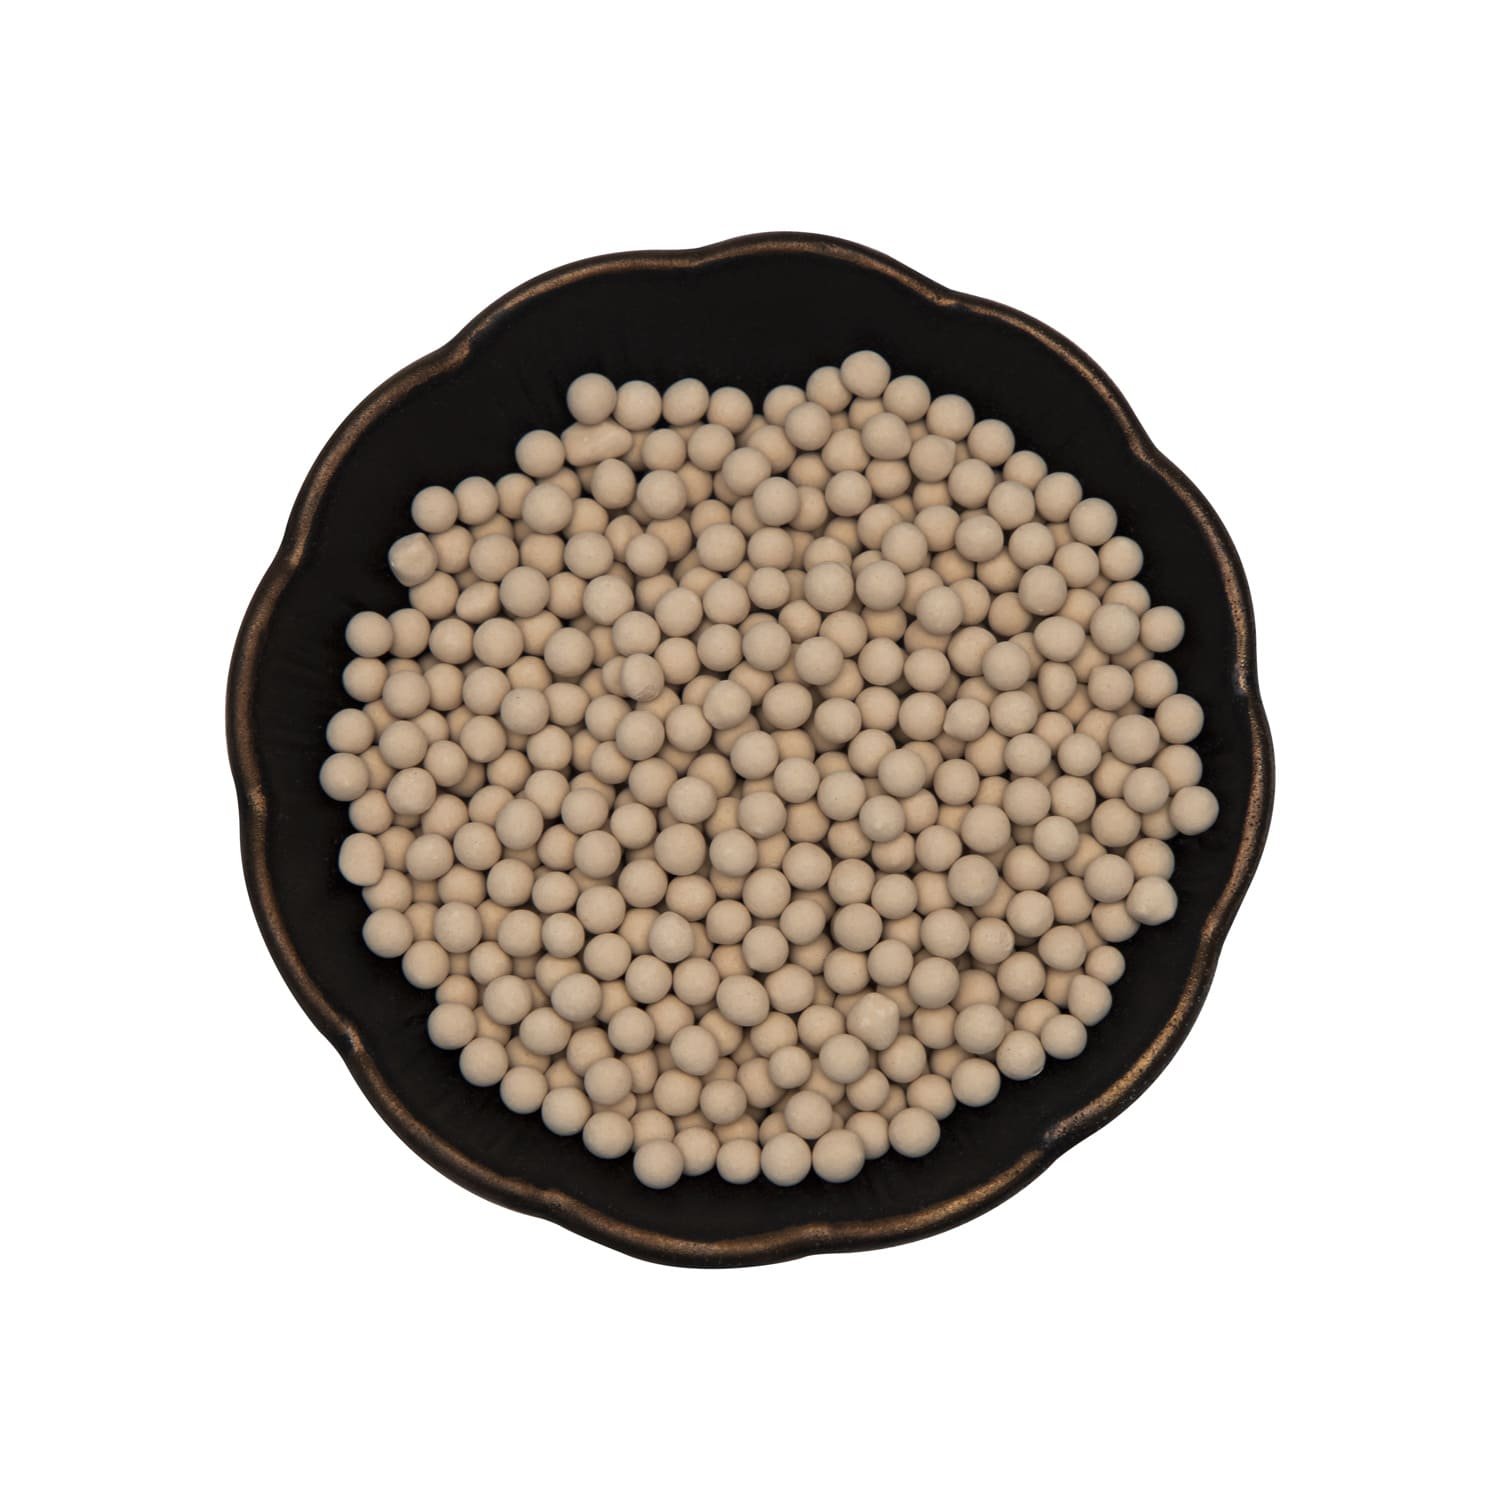
The way you fill the tower directly impacts how well the air flows through the sieve bed. If you have empty pockets or loose areas, the air will take the path of least resistance. This is called "channeling," and it means a large portion of your molecular sieve isn't even being used. Our sieves are made with a special granulator process that gives them high mechanical strength. This means they are less likely to crush and create dust during loading, but you still need to be careful. Proper loading technique ensures you get the full performance you paid for.
The Importance of a Support Layer
Before adding the molecular sieves, you need to build a foundation.
- Filter Screen: First, place a wire mesh or filter screen at the bottom. This stops any sieve material from leaking out but allows gas to pass through freely.
- Activated Alumina Balls: Next, add a layer of activated alumina balls. This support layer carries the weight of the entire sieve bed, preventing the molecular sieves at the bottom from being crushed under pressure.
The Art of Even and Compact Filling
Now for the main event. Pour the molecular sieves into the tower slowly. Don't just dump them from a great height, as this can break the beads. As you fill, use a vibrating tool on the outside of the tower. This helps the beads settle into a dense, compact bed, removing any voids. A tightly packed bed is your best defense against powdering and channeling later on.
How Do You Finalize the Loading and Commission the System?
You've finished loading the sieves. But closing it up too soon can lead to poor performance. One final check ensures all your hard work pays off and the system runs smoothly.
After filling, verify the sieve bed height against the equipment specifications. Make sure the top surface is perfectly level. Once confirmed, you can securely close the filling port and begin the equipment commissioning and startup procedures.
I remember a client who skipped the final leveling step. They had one side of the bed that was a few inches lower than the other. When they started the system, most of the air flowed over that low spot, and they couldn't reach their target dew point. They had to shut everything down and fix it. Taking five extra minutes to check the height and level the surface with a simple tool can save you a full day of rework. It's a simple step that guarantees uniform airflow and maximum adsorption efficiency.
Verifying Fill Height and Levelness
The correct fill height is usually specified by the equipment manufacturer. Overfilling or underfilling can disrupt the system's cycle times and performance. Use a measuring tape to confirm the height. Then, look across the surface to ensure it's flat. A level bed ensures that when the air enters the tower, it is distributed evenly across the entire surface of the molecular sieve bed. This is critical for achieving the best possible performance.
From Loading to Operation: The Final Steps
Once you are happy with the fill, you can close and seal the loading port. After that, the system is ready for commissioning. This usually involves a series of steps like purging the system with dry air to remove any atmospheric moisture, followed by a gradual pressurization and a performance test. If you have any questions about replacing sieves for your dryers and compressors, we are always here to help.
Conclusion
In short, proper sieve loading involves careful preparation, a layered and compact filling technique, and detailed final checks. This ensures your air separation unit operates efficiently for years to come.