Skip to content
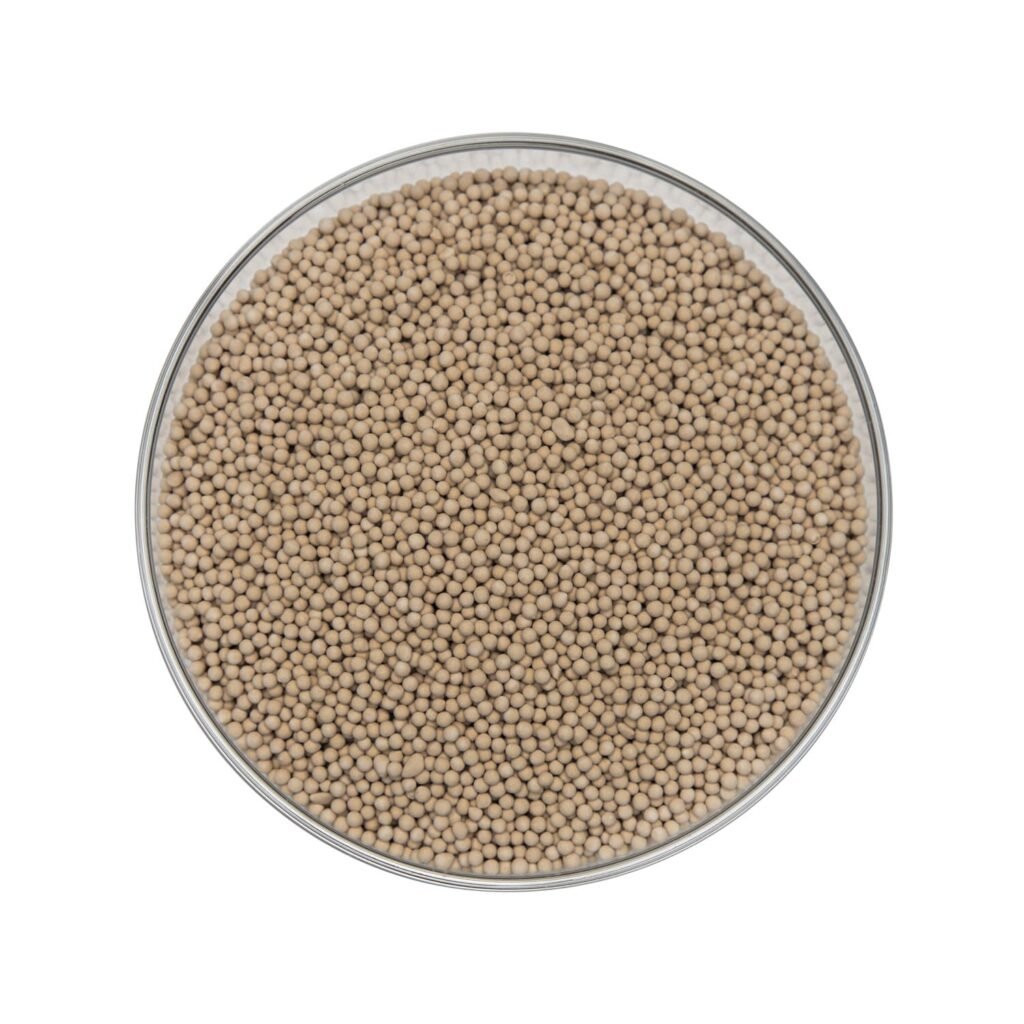
Your oxygen generator's efficiency[^1] is dropping. A sieve change is needed, but a single mistake can ruin the new batch. You need a reliable, step-by-step process.
The standard procedure involves four key stages: preparing the system for shutdown, carefully removing the old sieve[^2] while inspecting the vessel[^3], correctly installing the new molecular sieve[^4] in compacted layers, and running a series of post-installation tests[^5] to verify performance and oxygen purity[^6].
Maintaining your hospital or industrial oxygen generator is critical. When performance dips, the first step is often replacing the molecular sieve. I've seen firsthand how improper replacement procedures can cause oxygen production efficiency to plummet, wasting time and expensive materials. It's frustrating to do all that work only to get a poor result. That's why having a standardized process is not just recommended; it's essential. This guide will walk you through the exact steps we've perfected over 20 years in the industry, ensuring your sieve change[^7] is successful the first time. Let’s dive into the details.
How Do You Safely Prepare the System Before a Sieve Change?
Your machine is running, but you need to stop it safely. A sudden shutdown can damage components or create a hazardous situation. You need a controlled and secure preparation process.
First, switch the oxygen generator to standby mode. Then, slowly release the pressure from the adsorption towers. Finally, disconnect the power supply completely and close both the main air inlet and the oxygen outlet valves to isolate the system.
Before you even think about opening the adsorption towers, safety and preparation are your top priorities. A mistake here can be dangerous. I remember a client who rushed this step and caused a pressure shock that damaged their valve system. The first thing you must do is follow proper Lockout/Tagout (LOTO) procedures. This means physically locking the power disconnect in the "off" position. This prevents anyone from accidentally starting the machine while you are working on it. Releasing the pressure slowly is also key. Rapid depressurization can fluidize the sieve bed[^8], carrying dust and broken particles into your piping and valves, creating more problems to fix. Taking your time here saves you headaches later.
Key Preparation Steps
Here's a simple breakdown of the preparation phase:
| Step Number | Action | Reason |
|---|---|---|
| 1 | Switch to Standby | Allows the system to complete its current cycle and stop in a neutral state. |
| 2 | Slow Depressurization | Prevents damage to the sieve and downstream components from pressure shock[^9]s. |
| 3 | Disconnect Power (LOTO) | Ensures personal safety by preventing accidental startups. This is non-negotiable. |
| 4 | Isolate Valves | Closing inlet and outlet valves fully isolates the towers you'll be working on. |
What Should You Look for When Removing the Old Molecular Sieve?
The old sieve is out, but is the job done? Just scooping it out is a missed opportunity. The state of the old material tells a story about your system's health.
When removing the old sieve[^2], observe the particles. Look for excessive dust, crushed beads, clumping, or discoloration. These are signs of potential underlying issues like moisture or oil contamination that must be addressed before refilling.
Once the towers are safely depressurized and isolated, you can begin removing the old molecular sieve. This is more than just manual labor; it's a diagnostic step. The condition of the old sieve is a free check-up for your air pre-treatment system. Don't just dump it and move on. Take a sample. How does it look? Is it uniform, or is it a mix of beads and fine powder? Crushed beads at the bottom of the tower often point to issues with the support screen or improper filling during the last change. If you see clumping or caking, it's a sure sign that liquid water has entered the bed. If the beads, which are normally white, have a yellow or brownish tint, you likely have an oil carryover problem from your compressor. Ignoring these clues means your brand-new sieve will fail prematurely, and you’ll be doing this all over again much sooner than you should.
Diagnosing Old Sieve Conditions
| Observation | Potential Cause | Recommended Action |
|---|---|---|
| Excessive Dust/Powder | Mechanical attrition from rapid pressure swings; poor quality sieve. | Check PSA cycle times; use a higher-strength sieve like ours. |
| Caking/Clumping | Liquid water contamination. | Inspect and repair air dryers and water separators upstream. |
| Discoloration (Yellow/Brown) | Oil aerosol contamination from the compressor. | Check and replace coalescing filters; consider an oil-free compressor. |
| Crushed Beads at Bottom | Support screen failure or "water hammer" effect. | Inspect and replace the support screen; ensure proper draining. |
How Do You Properly Install New Molecular Sieves for Maximum Efficiency?
You have a clean tower and a bag of new sieve. Just pouring it in seems easy, but this is where many people go wrong, leading to poor performance from day one.
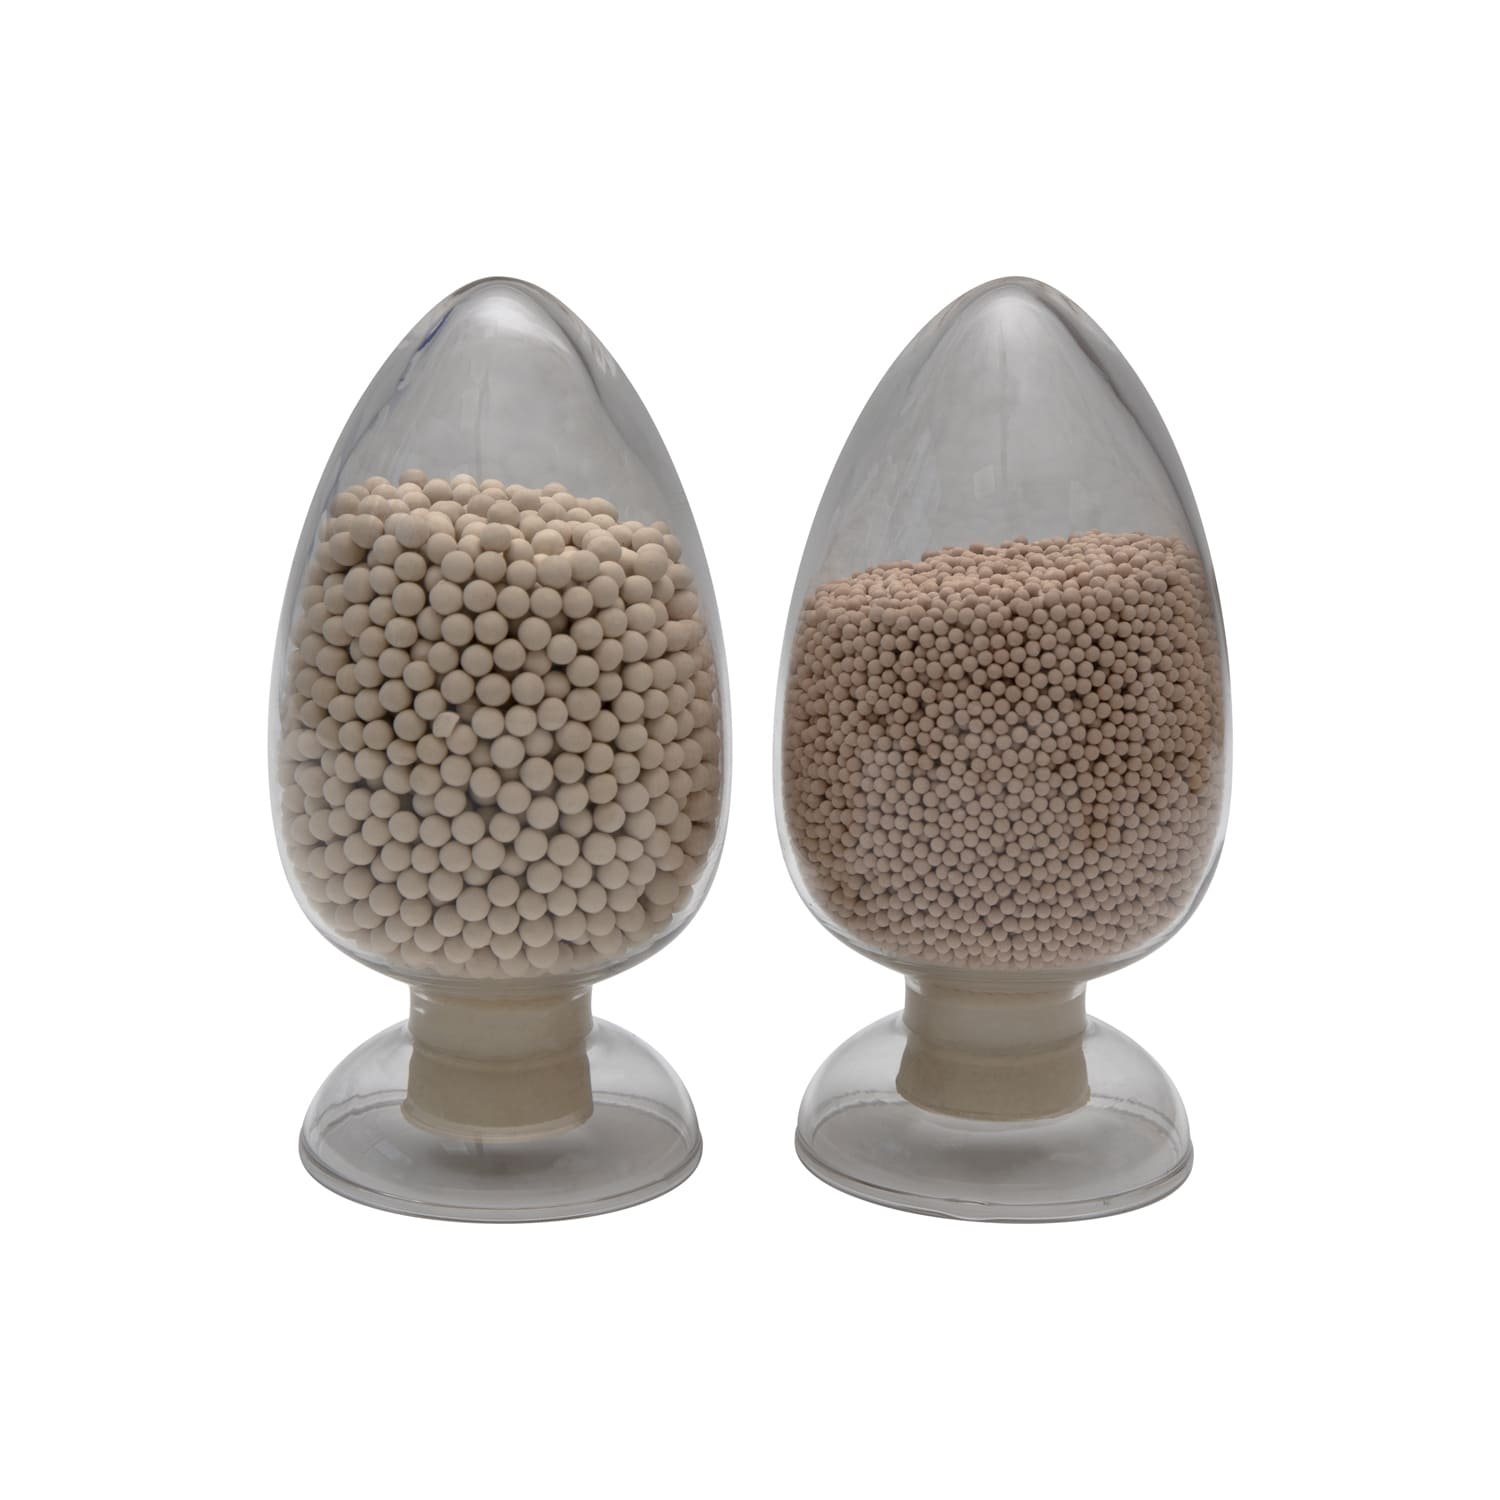
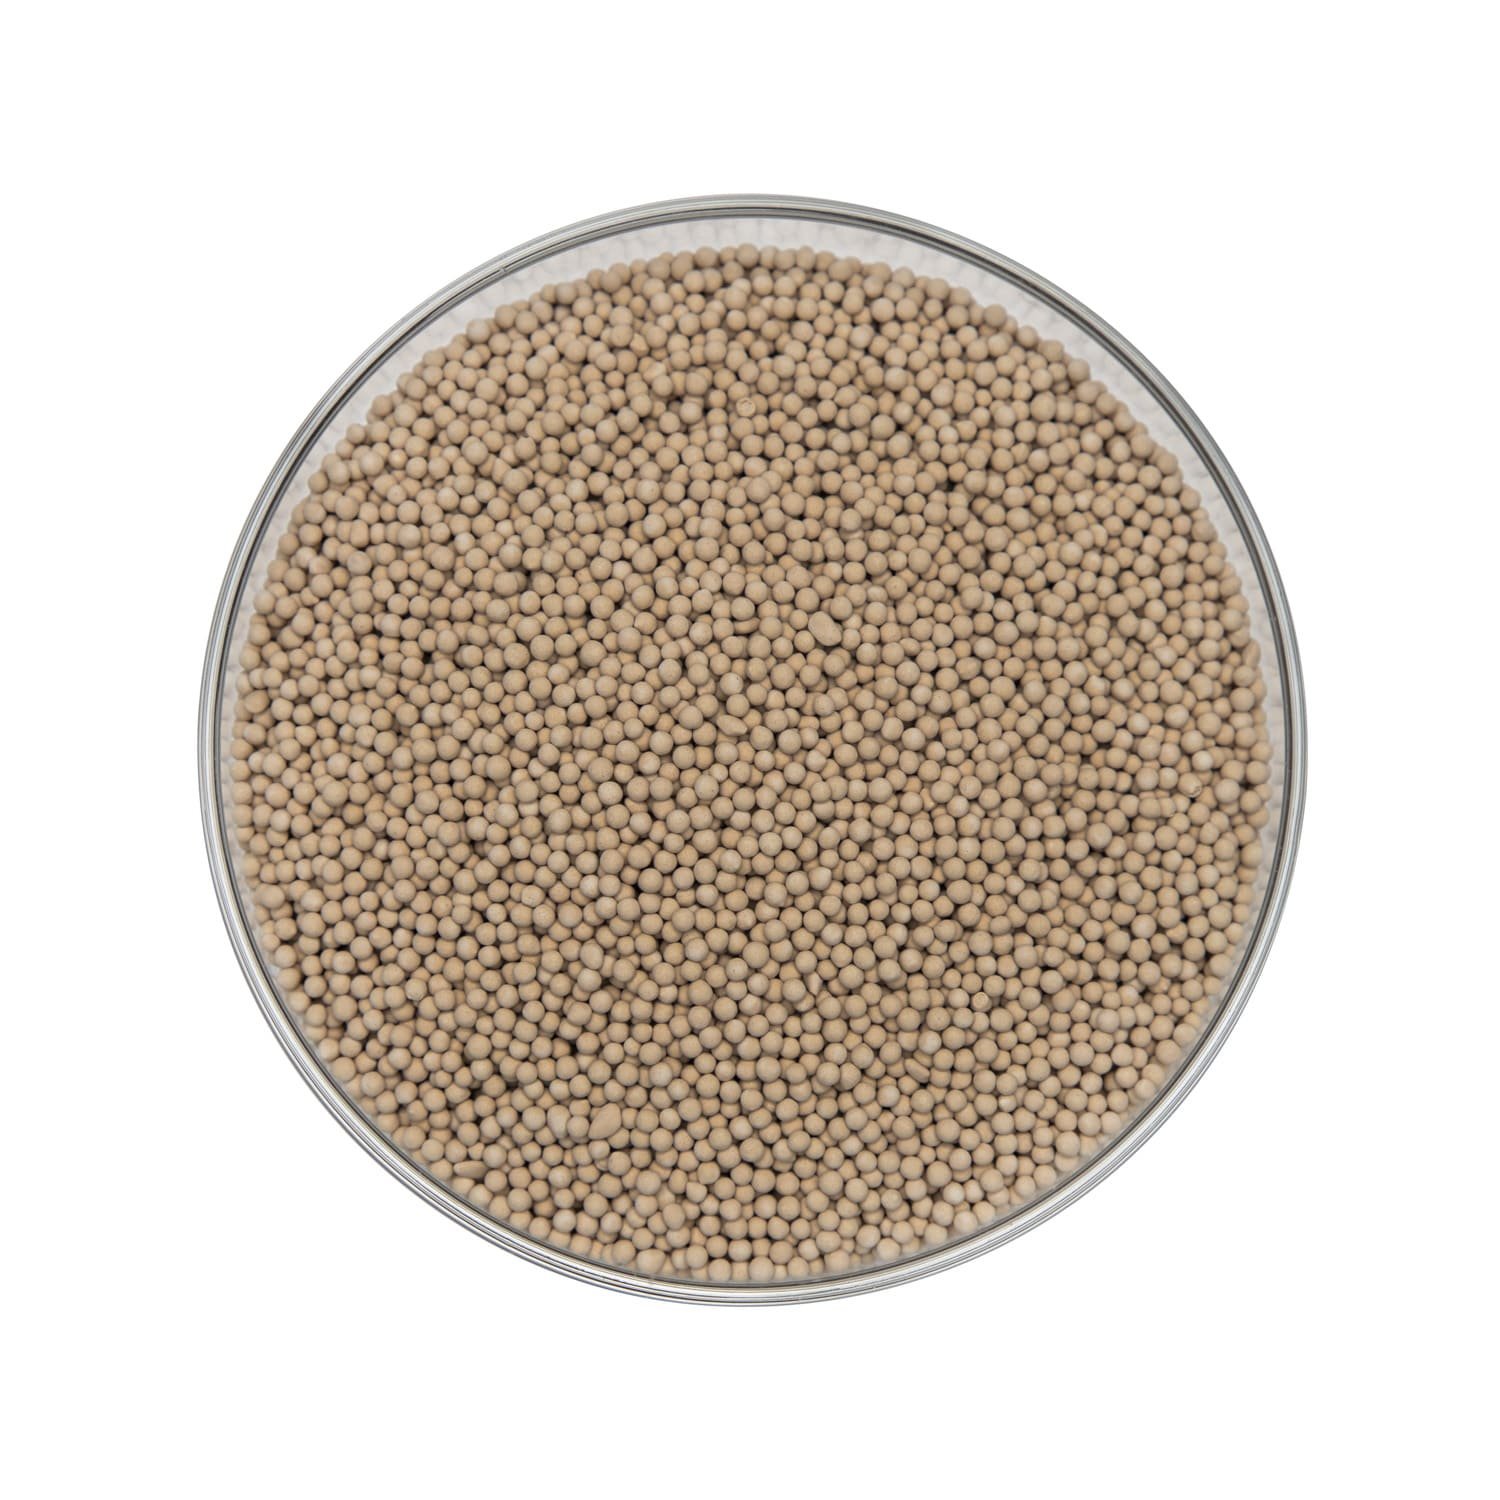
To install new sieve correctly, first clean the tower and replace filters. Fill the sieve in layers, compacting each layer by vibrating the tower. This ensures a dense, uniform packing without any voids for air to bypass.

This step is where the quality of your work directly impacts the generator's future performance. A poorly packed bed will lead to "channeling," where air creates preferential paths through the sieve, bypassing most of the material. This drastically reduces the efficiency of your oxygen production. Start by using compressed air to blow out any remaining dust from the empty tower. Critically, inspect and replace the bottom and top filter screens and any gaskets. They are cheap parts, and reusing old ones is asking for trouble.
When filling, don't just dump the entire bag in at once. We tell our clients to fill the tower in thirds. Pour the first third in, then gently tap the side of the vessel with a rubber mallet or use a dedicated vibrator. You will see the sieve level drop as the beads settle into a dense pack. Repeat this for the next two layers. This method ensures the highest packing density, maximizing the amount of sieve the air interacts with and preventing the bed from settling later, which can create a damaging headspace. As a manufacturer with a top-tier production line, we produce sieves with uniform particle size, which makes this packing process much more effective.
What Key Checks Must You Perform After Replacing the Sieve?
The new sieve is in and the machine is sealed. You are ready to flip the switch. But how do you know if the job was a success? Don't just walk away.
After restarting, run the generator for at least two hours. During this time, monitor three things: stable pressure swings[^10] in the adsorption towers, target oxygen concentration[^11] (e.g., 93%), and any unusual noises like hissing, which could indicate a leak.
The final step is commissioning and testing. This confirms your hard work paid off. After you've sealed everything up and reconnected the power, start the generator and let it run for a solid two hours. This gives the new molecular sieve time to reach equilibrium and for the system to stabilize. During this period, your eyes and ears are the most important tools. Watch the pressure gauges for each tower. They should be swinging in a smooth, consistent rhythm. Wildly fluctuating pressures could mean a valve issue or a blockage. Next, check the product gas with an oxygen analyzer. The concentration should climb steadily and stabilize at the machine's specified purity level. Finally, listen. A well-sealed system is relatively quiet. A sharp hissing sound often means a flange gasket wasn't seated correctly, and you have a leak that needs immediate attention.
Post-Replacement Commissioning Checklist
| Check | What to Look For | Good Result | Bad Result (and what it means) |
|---|---|---|---|
| Pressure Cycles | Consistent, rhythmic pressure swings on tower gauges. | Stable and repeatable pressure curves. | Erratic or unstable pressures; could be a valve or packing issue. |
| Oxygen Purity | The output gas concentration. | Reaches and holds the target purity (e.g., 93% +/- 3%). | Low purity; could be a leak, channeling in the bed, or wrong sieve. |
| System Noises | Listen for any new or unusual sounds. | Normal hum of the machine. | Hissing (leak), banging (valve issue), or grinding. |
| Cycle Time | The time it takes to complete one full adsorption/desorption cycle. | Matches the manufacturer's specifications. | Too fast or too slow; indicates a control system or flow problem. |
Conclusion
Following this standard procedure for replacing your molecular sieve is the best way to ensure your oxygen generator returns to peak performance and operates reliably for years to come.
[^1]: Understanding how to enhance your oxygen generator's efficiency can save costs and improve performance. [^2]: Knowing how to correctly remove the old sieve can prevent system damage and ensure a smooth replacement process. [^3]: Inspecting the vessel can reveal underlying issues that might affect the new sieve's performance. [^4]: Correct installation of a new sieve is vital for optimal performance and longevity of the generator. [^5]: Post-installation tests verify the success of the sieve replacement and ensure the generator's efficiency. [^6]: Testing oxygen purity ensures the generator is producing high-quality oxygen, crucial for its applications. [^7]: A proper sieve change is crucial for maintaining the efficiency of your oxygen generator. [^8]: Preventing sieve bed fluidization is crucial to avoid damage and maintain efficiency. [^9]: Understanding pressure shock can help prevent damage during maintenance and operation. [^10]: Stable pressure swings are a sign of proper operation and successful sieve installation. [^11]: Achieving the target oxygen concentration is crucial for meeting operational standards and efficiency.