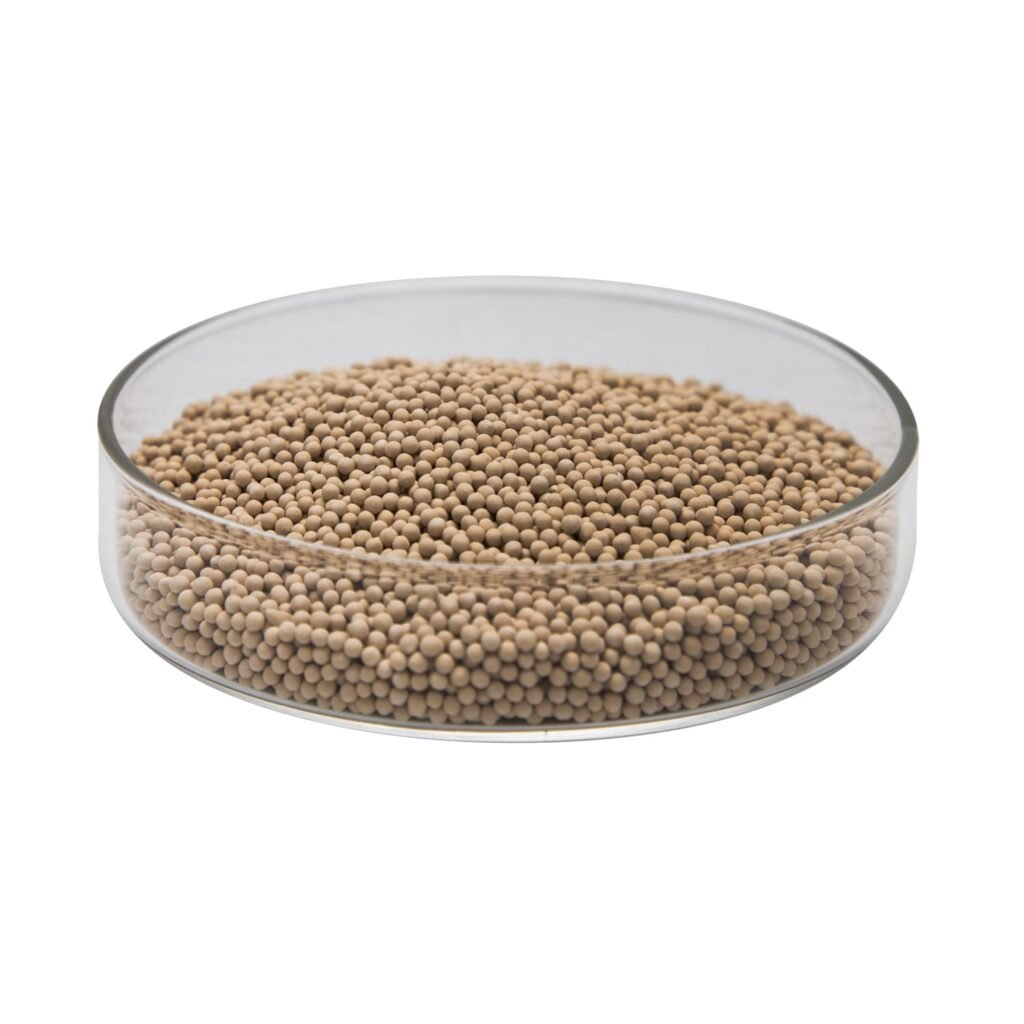
Your desiccant dryer[^1] is underperforming, and moisture is getting through. This inefficiency raises energy costs and risks damaging your equipment. Knowing when to replace your adsorbent[^2] is key.
Typically, adsorbent[^2]s in heatless desiccant dryers[^3]](https://www.youtube.com/watch?v=jzQFpoSYBSg)[^1]s should be replaced every 3 to 5 years. This lifespan can shorten due to high inlet humidity[^4], frequent use, or contamination. Monitoring the outlet dew point[^5] is the best way to know when a change is needed.
It's easy to think of adsorbent[^2] as a "set it and forget it" component. But in reality, its performance is constantly changing based on your operating conditions. Ignoring the signs of degradation can be a costly mistake. So, how can you accurately predict the end of its useful life and what are the crucial steps to ensure a replacement restores your system to peak performance? Let's dive into the details that matter.
What Factors Shorten Adsorbent Lifespan in Your Dryer?
You followed the manual, but your new adsorbent[^2] failed much sooner than expected. This surprise downtime and cost is frustrating, leaving you wondering what went wrong with your system.
Several key factors shorten adsorbent[^2] life. High inlet humidity and frequent cycling put more stress on the material. Operating under constant high loads or in environments with high temperatures and dust can also significantly accelerate performance degradation, requiring more frequent replacement.
The 3-to-5-year rule is just a guideline. In my experience, I've seen desiccant beds fail in under two years because of harsh conditions. Understanding the specific stresses on your system is crucial for predicting its true lifespan. The performance of your adsorbent[^2] is a battle against operational load, contamination, and physical breakdown. Every cycle wears the material down just a little bit. High humidity means the desiccant has to work harder to adsorb more water. Frequent cycling between adsorption and regeneration creates repeated thermal and pressure stress, which can physically break the beads over time. This process is called mechanical attrition[^6]. The result is dust, which clogs the bed, increases pressure drop[^7], and costs you money in wasted energy. Contaminants are another major enemy. Compressor oil carryover is a common problem. Oil vapor can coat the adsorbent[^2] beads, blocking the pores and rendering them useless. This is called fouling[^8], and it's often irreversible.
Key Stress Factors for Adsorbents
To make it clearer, let's look at a breakdown of these factors and how they directly impact your adsorbent[^2]'s health.
| Factor | Impact on Adsorbent Lifespan | Why It Matters |
|---|---|---|
| High Inlet Humidity | Major Reduction | Forces the desiccant to adsorb more water per cycle, reaching its capacity faster and requiring more frequent, intense regeneration. |
| Frequent Cycling | Moderate Reduction | Causes mechanical and thermal stress, leading to bead breakdown and dusting. More cycles mean more wear and tear. |
| High Ambient Temp | Moderate Reduction | Reduces the efficiency of adsorption. The desiccant can't hold as much water at higher temperatures, so the system has to work harder. |
| Contaminants (Oil/Dust) | Severe Reduction | Clogs the adsorbent[^2]'s pores permanently. This is a primary cause of premature failure and cannot be fixed by regeneration. |
| Improper Regeneration | Severe Reduction | If the purge air isn't dry enough or the cycle is too short, water is left behind. This residual moisture builds up, reducing capacity. |
How Do You Know It's Time for an Adsorbent Changeout?
Your system seems to be running okay, but you're worried about an unexpected failure. Guessing when to replace adsorbent[^2]s can lead to spending money too soon or suffering costly downtime.
The most reliable indicator is a consistently high outlet dew point[^5]. If your dryer can no longer reach its target dew point, the adsorbent[^2] is likely saturated or degraded. Other signs include an increased pressure drop[^7] across the bed and longer regeneration times.
You don't have to guess. Your dryer gives you clear signals when its adsorbent[^2] bed is failing. The most important metric to track is the pressure dew point[^9] at the dryer's outlet. This is a direct measurement of the air's moisture content. If your system is designed for a -40°C dew point but you're only getting -20°C, the adsorbent[^2] is no longer doing its job effectively. This is the number one sign that a changeout is needed. Another critical sign is a rising pressure drop[^7] between the inlet and outlet of the drying tower. As adsorbent[^2] beads break down into dust from stress, this powder clogs the empty spaces in the bed. Your compressor then has to work much harder to push air through, wasting a significant amount of energy. I once visited a client whose electricity bills were through the roof. We opened their dryer tower and found the bottom third of the adsorbent[^2] had turned to a fine powder, almost like concrete. It was completely blocking airflow. A simple dew point and pressure drop[^7] check months earlier could have saved them thousands in energy costs and prevented the emergency shutdown.
Monitoring for Performance Degradation
To avoid situations like that, you should implement a simple monitoring routine. It doesn't have to be complicated.
- Check the Dew Point Weekly: Use a reliable dew point sensor[^10]. Log the readings. If you see a steady upward trend over several weeks, it's time to plan for a replacement.
- Monitor Pressure Drop: Most systems have pressure gauges on the inlet and outlet. Note the difference. If it increases by more than 0.3 to 0.5 bar (5-7 PSI) over the baseline, investigate. This points to blockages or dusting.
- Listen to the Purge Cycle: Listen for the sound of the purge/repressurization cycle. If it becomes shorter or the timing seems off, it could indicate control valve issues that can harm the adsorbent[^2].
- Perform a Visual Inspection (If Possible): During planned maintenance, if you can access the bed, look for signs of oil staining (darkened, clumpy beads) or excessive dust. This confirms contamination.
What Are the Best Practices for Replacing Adsorbents?
So you've decided it's time for a changeout. A bad replacement job can ruin expensive new material and give you the same poor performance you had before.
Always completely empty and clean the towers before refilling. Never mix old and new adsorbent[^2]s. Use the exact same type and size of material. Fill the tower evenly and compact it to prevent air channeling[^11], which severely reduces efficiency.
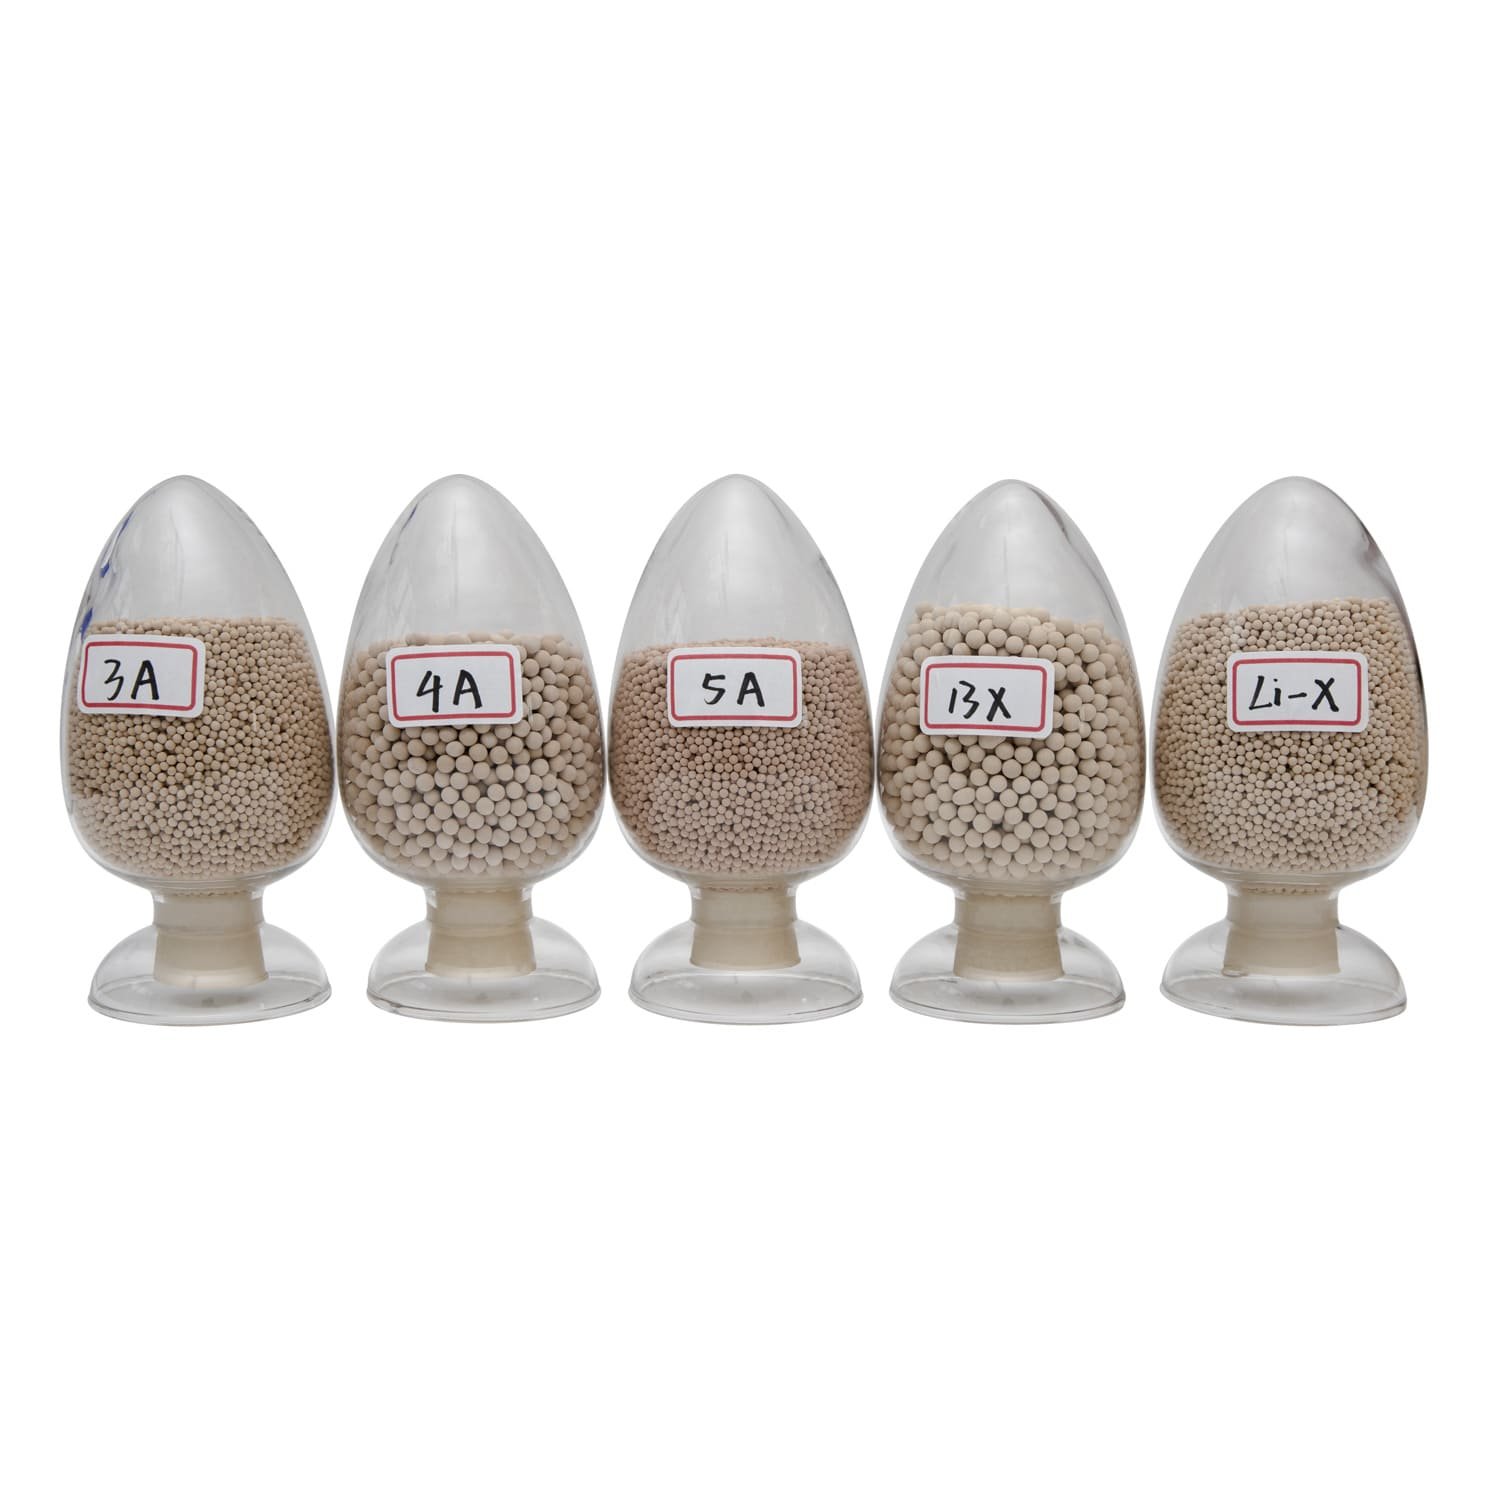
A successful adsorbent[^2] replacement is more than just pouring new beads into the tower. The procedure you follow is just as important as the quality of the material you use. The single biggest mistake I see people make is not cleaning the tower properly. Old dust, broken beads, and oil residue left at the bottom will contaminate your new desiccant from day one. You must vacuum out every last particle. The second mistake is creating air channels. This happens when the desiccant is not loaded and compacted correctly. Air will always follow the path of least resistance. If there are loose pockets or gaps, wet air will bypass the adsorbent[^2] bed entirely, flowing right through these channels and out of the dryer untreated. You could have a tower full of brand-new, premium desiccant, but if channeling is present, your dew point will be terrible. This is why properly filling the vessel is so critical. It ensures that the air has maximum contact time with the adsorbent[^2] beads, allowing for effective moisture removal. Matching the product is also essential. Using a molecular sieve[^12] with a different bead size or crush strength than the original can alter the pressure drop[^7] and flow dynamics of the entire system.
Step-by-Step Guide to a Successful Changeout
Follow these steps to ensure your dryer performs like new after a changeout.
- De-pressurize and Isolate: Safety is always first. Make sure the vessel is completely isolated from the air system and fully de-pressurized before opening any ports.
- Remove All Old Material: Use an industrial vacuum to remove all the old adsorbent[^2]. Do not leave any dust or broken particles behind.
- Inspect and Clean the Tower: Once empty, inspect the tower's internal components, like screens and supports, for damage. Clean any oil residue or grime from the internal walls.
- Load the New Adsorbent Carefully: Load the new material slowly to avoid breaking the beads. A "sock" or chute can help minimize the drop distance. Fill the tower in stages, tapping the side of the vessel with a rubber mallet[^13] after each stage to help the beads settle and compact. This is vital for preventing channeling.
- Verify and Test: After closing the system, slowly re-pressurize it to check for leaks. Then, run a full operational cycle and immediately check the outlet dew point[^5]. It should be at or better than the dryer's original specification.
Conclusion
Regularly monitoring your dryer's dew point and following proper replacement procedures are key. This ensures long-term efficiency, saves energy, and protects your downstream equipment from moisture damage.
[^1]: Understanding how a desiccant dryer functions can help you maintain it better and prevent moisture-related issues. [^2]: Learn about the role of adsorbents in moisture removal to ensure your dryer operates efficiently. [^3]: Discover the unique features of heatless desiccant dryers to choose the right one for your needs. [^4]: High inlet humidity can reduce the efficiency of your dryer, leading to more frequent maintenance. [^5]: Monitoring the outlet dew point helps in determining the efficiency and need for adsorbent replacement. [^6]: Understanding mechanical attrition can help you prevent bead breakdown and maintain dryer efficiency. [^7]: Monitoring pressure drop can indicate blockages or dusting, helping you maintain system efficiency. [^8]: Learn about fouling to prevent adsorbent degradation and maintain dryer performance. [^9]: Understanding pressure dew point helps in assessing dryer performance and planning maintenance. [^10]: A dew point sensor is crucial for monitoring moisture levels and ensuring dryer efficiency. [^11]: Preventing air channeling ensures maximum contact time with adsorbents, improving moisture removal. [^12]: Learn about molecular sieves to choose the right adsorbent for your dryer and improve efficiency. [^13]: A rubber mallet helps in settling and compacting adsorbents, preventing air channeling and improving efficiency.